Most first underwater photos look the same: a blue-green haze with a fish-shaped smudge in the middle. That isn’t your camera’s fault. Water strips out red light, scatters what’s left, and puts a moving subject at the far end of a lens you’re trying to hold steady while floating in three dimensions. Underwater photography is the craft of working around those three problems, and the good news is that the fixes are cheaper and simpler than most divers assume. The right camera for your trip, a way to bring back color, a few settings and a lot of buoyancy control will take you further than the most expensive housing on the boat.
Short answer: Underwater photography means shooting photos and video while diving or snorkeling. Start with a GoPro and red filters ($119 for filters), a phone in a depth-rated housing ($249.95) or an OM System TG-7 ($549.99) in a housing ($350-$399.99). Add a strobe or video light to bring back color at depth. Master buoyancy first. Prices checked September 2026.
Prices, depth ratings and course details below were checked on September 24, 2026 against the manufacturers’, retailers’ and agencies’ own websites. We name products so you can compare like with like; no manufacturer or shop paid to appear here, and we don’t earn commissions on anything listed.
On this page: At a glance · Why it’s hard · Which camera for which trip · Cameras compared · Housings · Wide-angle vs macro · Strobes, lights and filters · Settings · Common problems · Tips · Video · Snorkel, night and blackwater · Editing · Where to shoot · Courses · Traveling with gear · Safety and ethics · Planning a photo trip · FAQ
Underwater photography at a glance
| Question | Answer (checked September 2026) |
|---|---|
| Cheapest setup that works | A GoPro in its dive housing with red filters: Backscatter’s FLIP13 two-filter kit costs $119 |
| Using your phone | Only in a depth-rated housing. Apple rates recent iPhones to 6 m (about 20 ft) for 30 minutes; SeaLife’s SportDiver S housing ($249.95) is rated to 130 ft (40 m). |
| Best beginner camera | OM System TG-7 ($549.99) in a housing ($350 from Ikelite, $399.99 from OM System), or the SeaLife Micro 3.0 ($599.95) |
| Serious setup | A mirrorless camera in a housing: Ikelite’s housing for the Canon EOS R100 is $1,140, or $2,075 with the camera and lens |
| Strobes | $495 (Ikelite Ecko) to $1,495 (Ikelite DS232 with built-in video light) |
| Video lights | $139.95 (SeaLife Sea Dragon Mini 1200) to $599 (Backscatter Macro Wide 4300) and far beyond |
| Course | PADI Digital Underwater Photographer: age 10+, Open Water card, 2-4 hours of eLearning, two days in total |
| Flying with batteries | Spare lithium batteries go in carry-on only, 100 Wh per battery, or up to two 101-160 Wh spares with airline approval |
| The rule that matters most | Don’t touch, move or chase marine life for a picture |
Why underwater photography is hard: light, color and water
Three things make underwater pictures different from pictures on land.
Water eats color. Sunlight contains every color, but water doesn’t let them all through equally. NOAA Ocean Exploration explains that blue light penetrates water best, followed by green, yellow, orange and red, and that red, with the longest wavelength, is filtered out quickly as depth increases. That’s why a red fish looks brown or gray at depth and why an unprocessed reef photo turns blue. NOAA’s Ocean Service adds that the ocean can look green where light bounces off sediment and particles, which is why coastal and plankton-rich water photographs green rather than blue.
Water steals contrast. Every foot of water between your lens and the subject scatters light and softens detail. On land you can zoom in from across a room; underwater the same shot looks like it was taken through fog. The fix is physical: get close, then closer. Wide-angle lenses let you get close to big subjects, and macro lenses let you fill the frame with small ones.
Everything moves. You, your subject and the water are all in motion, often in different directions. Current pushes you around, surge swings the reef, and fish don’t pose. Good underwater photographers are, first of all, good at staying still.
There are two ways to get color back. You can filter and color-correct ambient light, which works in shallow, sunny water, or you can bring your own light with strobes or video lights, which works at any depth and is the only real option deeper down. Backscatter, a California underwater photo retailer, sums up the GoPro version of the problem neatly: those cameras can’t set a manual white balance that restores the reds and oranges lost at depth, so filters are required for ambient-light footage, and lights are needed for the best image quality deeper.
Which underwater camera should you take? A trip-by-trip guide
The best camera for scuba diving is the one that matches the trip, your budget and how much you want to carry through airports. This table compares the main routes.
| Setup | Cost (checked Sept 2026) | Depth rating | Best for | Trade-offs |
|---|---|---|---|---|
| Phone in a housing | $249.95 for a SeaLife SportDiver S, plus your phone | Housing rated to 130 ft (40 m) | Casual divers, snorkelers, instant sharing | Your phone is inside it; controls run through an app |
| GoPro with filters | HERO13 Black launched at $399; filters $119 | Dive housing rated to 196 ft (60 m) | Video, wide scenes, snorkeling, drift dives | Small sensor; fixed wide lens; macro needs an add-on |
| GoPro MISSION 1 | Check GoPro’s current price | 66 ft (20 m) without a housing | Video-first divers who want a 1-inch sensor | New line; the interchangeable-lens version isn’t waterproof |
| Rugged compact (OM System TG-7) | $549.99, plus $350-$399.99 for a housing | 50 ft (15 m) without a housing | Beginners, macro, travelers | Small sensor; needs a housing for diving depths |
| SeaLife Micro 3.0 | $599.95; sets with lights to $1,399.95 | Sealed camera; check SeaLife’s rating | Beginners who want big, simple buttons | Fixed lens; add-on lenses for wide and macro |
| Mirrorless in a housing | $1,140 for an entry-level Ikelite housing alone; far more for pro bodies | Set by the housing | Committed hobbyists and pros | Cost, weight, airline hassle, learning curve |
How that plays out on real trips:
- A snorkel-heavy family trip to Hawaii or the Keys: a phone housing or a GoPro. You’ll shoot more because you’ll actually bring it.
- Drift dives in Cozumel: a GoPro with filters or a TG-7. Current leaves little time to fiddle with settings.
- Macro and muck diving in Lembeh or Anilao: a TG-7 with a strobe, or a mirrorless camera with a macro lens. A GoPro isn’t the tool here.
- Night dives and the Kona manta dive: anything with good video lights, because there’s no ambient light to correct.
- Red Sea wrecks and big-animal liveaboards: wide-angle with strobes, or a GoPro for video if you don’t want the bulk.
Our take: The best underwater camera for beginners is a TG-7 in a housing if you want photos, or a GoPro with red filters if you mostly want video. Both cost under $1,000 all in, both fit in a carry-on, and both teach you what you need to know before you spend real money.
Underwater cameras compared
GoPro for scuba diving
A GoPro is the most common underwater camera on dive boats, and for good reason: it’s small, tough, shoots excellent video and works straight out of the box. GoPro announced the HERO13 Black at $399, and its Protective Housing is rated to 196 ft (60 m), deep enough for any recreational dive. That housing is also where you mount filters. Backscatter sells a FLIP13 two-filter kit with DIVE and DEEP filters for $119 and a package with a +15 MacroMate Mini macro lens for $249; the macro lens alone is $149, and its Sharp Wide Lens Pro, which widens the field of view, is $299 (all checked September 2026).
GoPro’s limits are optical. The sensor is small, the lens is fixed and very wide, and, as noted above, you can’t dial in a manual white balance that brings back red at depth. For ambient-light video in the top few dozen feet of clear water, a red filter fixes most of that. Deeper, or at night, you need lights. GoPro’s newer MISSION 1 line, announced in 2026, pushes further: a 1-inch sensor, 50MP stills, 8K30 and 4K120 open-gate video, and waterproofing to 66 ft (20 m) without a housing. The MISSION 1 PRO ILS, which takes interchangeable Micro Four Thirds lenses, is only weatherproof and needs a housing underwater.
GoPro red filters: when to use them
A red (or magenta, for green water) filter shifts the color balance back toward what your eye expects in ambient light. Use one in daylight, in shallow to moderate depths, when the sun is behind you. Take it off at night, inside wrecks and caves, and whenever you’re using lights, because a filter in front of a white light turns everything red. If your GoPro footage looks blue and flat, a filter is the cheapest fix available, and it takes seconds to flip on and off.
iPhone underwater photography and phone housings
Phones take remarkable pictures now, and plenty of divers want to use them. Just don’t take one diving without a housing. Apple rates iPhone 15, 16 and 17 models IP68 to a maximum depth of 6 meters for up to 30 minutes, tested in lab conditions. It also says water resistance isn’t permanent and decreases with normal wear, and that liquid damage isn’t covered under warranty. That rating covers a drop in a pool, not a 60-foot reef dive.
A dedicated underwater phone housing solves the problem. SeaLife’s SportDiver housing is depth-rated to 130 ft (40 m), each unit is individually depth tested, it has a vacuum leak alarm, and it talks to the phone over Bluetooth through SeaLife’s free app, so no buttons press against the screen. It works with iPhone 11 and later and many Android phones, as long as the phone fits within 6.49 x 3.15 x 0.38 inches. SeaLife lists the SportDiver S housing at $249.95 and a SportDiver Ultra Duo 5000 set with lights at $1,199.95. The trade-off is simple: your phone is the most expensive thing you own that’s also full of your life, and it’s now inside a box underwater. Test the housing in a sink or pool before every trip.
Compact cameras: the TG-7 and Micro 3.0
Rugged compacts are the classic step up from a GoPro. The OM System Tough TG-7 is waterproof to 50 ft (15 m) on its own and costs $549.99. For diving deeper than that, it goes into a housing: OM System’s PT-059 lists at $399.99 (check stock before you plan around it), and Ikelite’s housing for the TG-7, TG-6 and TG-5 is $350, or $950 bundled with the camera. The TG-7’s party trick is close focusing, which makes it a strong macro camera for the money, especially with a strobe.
SeaLife’s Micro 3.0 takes a different approach: a sealed camera with big, glove-friendly buttons and no separate housing to flood. SeaLife lists the camera at $599.95, a Reef Edition set with a wide-angle lens at $899.95, and a Pro Duo 5000 set with lights at $1,399.95. It’s easy to use and hard to break, and it suits divers who want good results without learning manual photography.
Mirrorless and DSLR cameras in housings
If you want to print your pictures large, shoot fast action or work in low light, you’ll eventually want a larger sensor, interchangeable lenses and a proper housing. Entry-level options are more affordable than they used to be: Ikelite’s housing for the Canon EOS R100 costs $1,140 on its own, or $2,075 with the camera and an 18-45mm lens. At the other end, aluminum housings for professional bodies from makers such as Nauticam, Isotta, Aquatica and AOI cost far more, before you add ports, domes, arms and strobes. A mirrorless rig is the best camera for scuba diving if you’re committed, but it’s also heavy, slow to set up, and one more reason to check the airline’s carry-on rules.
Underwater housings: what to look for
An underwater housing is a waterproof shell that lets you operate a land camera underwater. For a phone, a compact or a mirrorless body alike, check these points:
- Depth rating. It should exceed the deepest dive you’ll do. GoPro’s Protective Housing is rated to 196 ft (60 m), SeaLife’s SportDiver to 130 ft (40 m).
- Leak detection. A vacuum system with a leak alarm, like the SportDiver’s, tells you before you get in the water that something isn’t sealed. It’s the single most useful feature on any housing.
- Material. Polycarbonate housings are lighter and cheaper and let you see inside; aluminum housings are tougher, more compact and pricier.
- Ports. A flat port suits macro lenses; a dome port suits wide-angle lenses and corrects the magnification water adds.
- Strobe triggering. Some housings fire strobes through fiber-optic cables and others through electrical bulkheads. Ikelite sells versions of its strobes for both, so match the strobe to the housing.
- Controls. Make sure the buttons you use most (shutter, zoom, record, ISO) are easy to reach with gloves on.
Look after the O-rings. Most floods come from a hair, a grain of sand or a pinched seal, not from a faulty housing. Clean and inspect the main O-ring every time you open it, close the housing in a clean, dry place, and dunk it in a rinse tank before the dive while watching for bubbles.
Wide-angle vs macro: lenses and ports
Underwater photography splits into two halves, and most divers find they prefer one. Wide-angle photography covers big scenes: reefs, wrecks, divers, sharks and mantas. You get as close as possible to a large subject with a very wide lens, so there’s little water between you, and you light the foreground with strobes while the sun lights the background. Macro photography covers small subjects: nudibranchs, shrimp, pygmy seahorses, the eye of a frogfish. You shoot from inches away with a lens that focuses close, and the strobe does all the lighting. Whale sharks are the classic big wide-angle subject, and because flash is banned at Ningaloo you’ll shoot them in natural light; our guide to swimming with whale sharks covers where and when to go.
On compacts, GoPros and phones, you switch between the two with wet lenses that screw or clip onto the front of the housing underwater. Backscatter’s Sharp Wide Lens Pro for GoPro costs $299 and its +15 MacroMate Mini macro lens $149. SeaLife’s +10 diopter close-up lens gives its Micro-series cameras a focusing range of 6 to 24 inches (15-60 cm) underwater, its Super Macro lens focuses from 3.5 to 7 inches (9-18 cm), and its wide-angle dome lens widens the field of view by more than 40% and lets you get three times closer. Wet lenses are the reason small cameras can shoot both halves on the same dive.
On mirrorless and DSLR housings, the lens lives inside and the port in front of it matters as much as the glass. A flat port suits macro lenses; a dome port suits wide-angle and fisheye lenses and lets them keep their full field of view underwater. The catch is that you commit to one or the other before the dive. Macro shooters and wide-angle shooters argue about which is harder. The honest answer is that macro teaches you patience and buoyancy, and wide-angle teaches you light.
Strobes, video lights and red filters
Strobes
A strobe is an underwater flash, and it’s the biggest single upgrade you can make to your photos. It brings back the reds and oranges water removed, freezes motion and adds sharpness. Ikelite’s store lists its Ecko DS strobe at $495, the DS165 TTL at $995 and the DS232 TTL with a built-in video light at $1,495; Backscatter’s Hybrid Flash, which works as both a strobe and a video light, is $1,099 (checked September 2026). TTL strobes read the scene and set the flash power for you, which helps beginners; manual control gives experienced shooters more consistency.
Where you point the strobe matters as much as which one you buy. Light that hits particles between the lens and the subject shows up as white specks, called backscatter. Angle strobes outward and slightly behind the front of the lens so the edge of the beam lights the subject and the water in front of the lens stays dark. For macro, bring the strobes in close and slightly forward. For wide-angle, spread them wide.
Video lights
Underwater video lights provide continuous light, which you need for video and which also helps you focus and compose at night. Small lights such as SeaLife’s Sea Dragon Mini 1200 ($139.95) and Mini 1600 ($159.95) are fine for close subjects and night dives, while Backscatter’s Macro Wide 4300 ($599) is built to cover both macro and wide scenes. Pay attention to beam angle as well as brightness: a wide, even beam lights a whole scene, while a narrow beam makes a hot spot. A pair of lights mounted on arms either side of the camera gives more even results than a single light.
When to use a filter instead
Filters and lights solve the same problem in different situations. In bright, shallow, clear water, a filter plus a custom white balance can produce natural color with no extra hardware. Once you go deeper, lose the sun, or want to show the true color of something small, artificial light wins. Never combine a red filter with strobes or white video lights.
Underwater camera settings by water color and subject
These are common starting points, not rules. Take a test shot, check the screen and the histogram, and adjust.
| Situation | How to light it | Starting point | Notes |
|---|---|---|---|
| Clear blue water, shallow, sunny | Ambient light, filter or custom white balance | Auto or shutter priority; ISO 100-400 | Shoot with the sun behind you; re-set white balance as depth changes |
| Green or murky water | Strobe or lights; magenta filter for ambient | Get closer than feels necessary | Distance, not settings, is the main fix |
| Macro with strobe | One or two strobes, close | f/11-f/16, 1/200-1/250 s, ISO 100-200 | Small apertures give depth of field; focus on the eye |
| Wide-angle reef with strobes | Two strobes spread wide | f/8, 1/125-1/250 s, ISO 200-400 | Get low and shoot slightly upward to include blue water |
| Silhouettes and sunbursts | Ambient light only | Fast shutter, small aperture, expose for the water | Shoot straight up toward the surface |
| Night and blackwater | Strobe plus a focus light, or video lights | f/8-f/16 with strobe; raise ISO for video | Keep filters off; watch your buddy and the ascent line |
| Video | Ambient with filter, or video lights | Shutter about double the frame rate | Hold each shot 5-10 seconds; move slowly |
Common underwater photo problems and how to fix them
Nearly every beginner’s photos fail in the same handful of ways. Here’s how to diagnose them.
| Problem | Likely cause | Fix |
|---|---|---|
| Everything looks blue or green | Water has absorbed the red light; no filter or artificial light | Get closer; use a filter or custom white balance in shallow water; use a strobe or video light deeper |
| White specks all over the frame | Backscatter: the strobe is lighting particles between the lens and the subject | Angle strobes outward and back; get closer so there’s less water to light |
| Blurry subjects | Slow shutter, camera shake or missed focus | Use a strobe to freeze motion; steady yourself with one finger on bare rock; focus on the eye |
| Dark, cluttered backgrounds | Shooting down onto the reef | Get low and shoot upward toward open water |
| Washed-out, overexposed subjects | Strobe too powerful or too close | Turn strobe power down or pull the strobes back |
| Fog inside the port | Warm, humid air sealed into the housing meets cooler water | Close the housing in cool, dry air and add moisture-absorbing packets |
| A flooded housing | A hair, grain of sand or pinched O-ring | Clean and inspect the O-ring each time, do a dunk test, and use a vacuum leak detector if the housing has one |
If you can only fix one thing, fix distance. Halving the distance between the lens and the subject improves color, contrast, sharpness and backscatter all at once, which no setting or software can match.
Underwater photography tips that matter more than gear
- Fix your buoyancy first. If you can’t hover motionless a few inches off the bottom without touching anything, no camera will help. A buoyancy course before a photo course is money well spent.
- Get close, then get closer. The less water between you and the subject, the more color, contrast and sharpness you keep.
- Shoot up, not down. Photos taken looking down on a fish show its back against a messy reef. Get low and angle upward so the subject stands out against open water.
- Focus on the eye. Viewers forgive a soft tail but not a soft eye.
- Approach slowly and from the side. Fast, head-on approaches send most animals away. Slow breathing helps too: exhaust bubbles scare fish.
- Take many shots of one subject rather than one shot of many. Vary the angle, distance and framing.
- Watch the background. Blue water, a clean sand patch or black negative space makes a subject pop; a cluttered reef hides it.
- Know your gauges. It’s easy to lose track of depth, time and air while you concentrate on a shot. Set alarms on your computer and check your buddy.
- Edit lightly. A little white balance, contrast and cropping in software goes a long way; heavy color sliders make reefs look fake.
- Learn the animals. Knowing where a frogfish lives or when mantas feed does more for your pictures than any lens.
Underwater videography: the basics
Underwater videography follows different rules from stills. The biggest is that continuous light replaces flash, so video lights, not strobes, bring back color. The second is stability. Hold each shot for 5 to 10 seconds, move the camera slowly or not at all, and let the subject move through the frame. A tray with two handles, or even a small weight under a GoPro, steadies footage more than you’d expect.
Set white balance manually whenever your camera allows it and reset it as you change depth. On GoPros, use a filter in daylight and lights at night. Record in the highest quality your editing computer can handle; GoPro’s MISSION 1 records up to 8K30, which gives room to crop and stabilize later. Shoot more short clips than long ones, and remember the story you want to tell: an establishing shot of the reef, a medium shot of the diver, and a close-up of the animal edit together far better than ten minutes of the same angle.
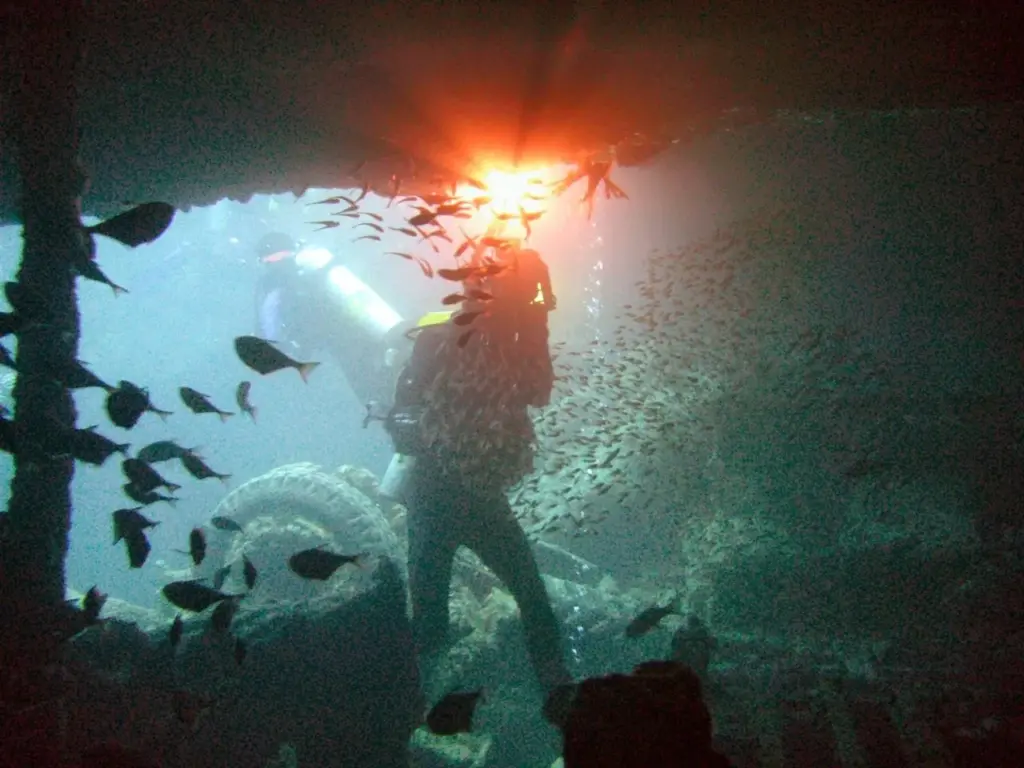
Snorkel, night and blackwater photography
Snorkeling. Some of the best light in the ocean is in the top 10 feet, which makes snorkeling underrated for photography. Colors survive near the surface, sun rays play across the sand, and there are no decompression limits to watch. A GoPro, a TG-7 or a phone in a housing all do well here. Shoot with the sun behind you, get down to eye level with your subject on a breath-hold if you can do it comfortably, and keep your fins off the reef. Turtles, rays and schooling fish in shallow bays make good first subjects.
Night dives. At night you bring all the light. A video light or focus light helps you find and frame subjects, and a strobe provides the exposure. Plenty of reef animals come out after dark, and the black background makes colors stand out. Keep the beam off animals’ eyes as much as you can, and don’t follow a hunting fish with your light; in some places fish have learned to hunt in divers’ beams.
Blackwater and manta dives. Kona’s blackwater dives put you on a tether over deep water at night, photographing larval fish and other drifters that rise toward the surface. Big Island Divers asks for 25 logged dives, and Jack’s Diving Locker keeps its Pelagic Magic dive shallower than about 50 feet. Blackwater photographers typically use a macro lens, two strobes and a focus light, and they expect to miss a lot of shots while they learn. On the Kona manta night dive, the operators’ lights do most of the work: a wide lens, a high ISO or a video light, and patience get you the classic belly-roll shot.
Editing underwater photos and video
Almost every good underwater picture gets some editing, and that isn’t cheating. The camera records a scene your eyes had already adjusted to, and editing restores what you saw. Three steps cover most of it:
- White balance first. If you shot in RAW, pick a neutral point, such as white sand or a diver’s tank, with the white-balance tool and let the software reset the colors. Ambient-light photos from depth may need more correction than the software can give, which is why getting close and bringing light into the water matters more.
- Contrast and clarity. Water flattens contrast. A modest boost to contrast, clarity or dehaze brings back punch. Stop before the blue turns neon.
- Clean up backscatter. Remove the worst specks with a spot-healing tool. If an image needs hundreds, treat it as a lesson in strobe positioning for next time.
For video, color-correct one clip, then copy the settings to clips shot at the same depth and light. GoPro and phone footage shot with a filter usually needs only a small nudge. Keep your edits short: a two-minute film of your best 20 clips will get watched, and a 20-minute film of every clip won’t. Label your files by site and date the same evening, because by the end of a week every reef looks alike.
Best places for underwater photography
The best destinations for underwater photography depend on what you like to shoot. This ranking mixes macro, wide-angle and big-animal trips, with the season, a cost cue and the experience each one asks of you.
| Rank | Destination | Best for | Season | Cost cue (checked Sept 2026) | Level |
|---|---|---|---|---|---|
| 1 | Lembeh Strait, Indonesia | Macro and muck: frogfish, pygmy seahorses, octopus | Ask resorts about the month you want | Mostly resort-based; ask for dive packages | Open Water; good buoyancy |
| 2 | Raja Ampat, Indonesia | Wide-angle reefs, mantas | October-April; mantas peak December-February | Liveaboards about $3,200-$7,500 for 7-10 nights | Open Water to Advanced |
| 3 | Anilao, Philippines | Macro, nudibranchs, blackwater | Reported best November-May | Reported to be the closest dive area to Manila | Open Water |
| 4 | Egyptian Red Sea | Wrecks (SS Thistlegorm), reefs, oceanic whitetips | March-May and September-November | Liveaboards from about $1,155 | Open Water to Advanced |
| 5 | Bonaire | Shore diving on your own schedule | Year-round, day or night | $40 nature fee plus $75 entry tax | Beginner |
| 6 | Kona, Hawaii | Manta night dive, blackwater | Year-round | Manta dives $149-$250; blackwater $199-$230 | Open Water; blackwater needs experience |
| 7 | Socorro, Mexico | Giant mantas, sharks, humpbacks | November-July | Liveaboards $3,195-$9,790 | Advanced |
| 8 | Blue Heron Bridge, Florida | Macro shore dive: seahorses, frogfish, nudibranchs | Year-round (plan around the tide) | Shore dive; no boat needed | Beginner |
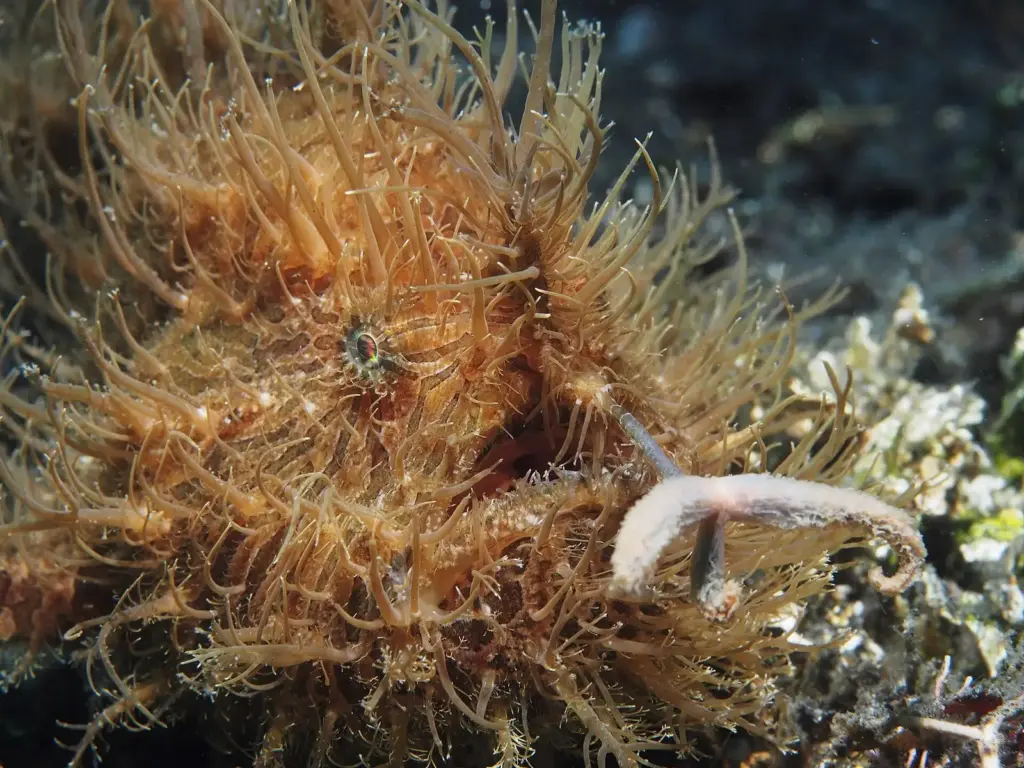
A few notes. Muck diving, a term coined by Bob Halstead for black-sand diving in Papua New Guinea’s Milne Bay, centers on Lembeh, Anilao, Dauin and Malaysia’s Mabul and Kapalai, and these are the places macro photographers return to. Raja Ampat can be dived year-round, but October to April brings calmer seas and visibility often of 20-30 m (65-100 ft). The Red Sea is the easiest wreck photography trip from the US, and the Thistlegorm, sunk in 1941 with trucks, motorcycles and locomotives still aboard, sits at a maximum of about 100 ft (30 m). Bonaire, with more than 85 sites, 54 of them easy to reach from shore, lets you dive when the light suits you instead of when the boat leaves. And Blue Heron Bridge in Palm Beach County has turned up seahorses, frogfish, batfish and more than 100 species of nudibranchs.
Cenotes are a special case. The light beams in Mexico’s cenotes are some of the most photographed scenes in diving, but some cenote owners charge camera fees of 200-1,000 MXN, and a few ban cameras outright, so ask before you go.
Underwater photography courses
A course speeds up the learning curve, mostly because an instructor can watch what you do in the water. PADI’s Digital Underwater Photographer specialty is open to divers 10 and older with a (Junior) Open Water card or equivalent. The eLearning takes 2 to 4 hours and the whole course two days, and the first dive may count toward Advanced Open Water. You’ll need a digital underwater camera and a computer or device to review your images, and PADI’s eLearning price covers only the knowledge section, so the in-water part is priced by the shop. SSI and other agencies run their own photo and video specialties along similar lines.
The best underwater photography course isn’t about the agency. Look for an instructor who shoots seriously, a class small enough that you get feedback on every dive, and a course built around the camera you actually own. Some dive resorts in photo destinations run photo centers with rental gear and instructors, which lets you try a better camera before you buy one.
Traveling with camera gear
Camera gear raises three travel questions: batteries, bulk and rentals.
- Batteries. FAA rules require spare lithium batteries and power banks to travel in carry-on bags only, with terminals protected. Lithium-ion batteries are limited to 100 Wh each; with airline approval you can carry up to two spares of 101-160 Wh. That covers spare camera batteries and lithium dive-light batteries, so pack them in your carry-on and tape or cap the terminals.
- Bulk. Carry the camera, lenses and housing on board; they’re fragile and expensive. Strobes, arms and trays can go in checked bags, well padded and with batteries removed.
- Rentals. If you only shoot once or twice a year, rent. Backscatter runs a rental program from the US, and some dive resorts in photo destinations rent cameras and lights on site. Ask before you book whether the resort has a camera room, charging stations and rinse tanks reserved for cameras.
- Insurance. Check whether your travel or homeowner’s policy covers a flooded housing or a dropped camera. Some don’t without a specific rider.
Safety and ethics for underwater photographers
The picture is never worth the reef or the animal. That sounds obvious, but a photographer concentrating on a shot can do real damage by settling on coral, kicking up sand or holding still in the wrong place. A few rules keep you, the reef and the wildlife safe:
- Don’t touch, move or manipulate anything. Don’t nudge a nudibranch onto a better background, poke a frogfish to make it yawn, or break coral to get closer. In the Florida Keys National Marine Sanctuary, for example, removing, injuring or possessing coral is prohibited.
- Don’t chase. Let animals come to you. Chasing turtles, mantas or seahorses stresses them and rarely produces a good picture anyway.
- Use a finger, not a hand. If you must steady yourself, use one finger on bare rock or sand, never on coral.
- Follow site rules on lights. Some sites and guides limit strobes or lights around sensitive animals. Ask during the briefing.
- Stay within your training. Photographers drift deeper and stay longer than they meant to. Don’t exceed your certification depth or no-decompression limits for a shot, and keep track of your buddy.
- Share the subject. On a crowded boat, take your shots and move on so others get a turn.
How to plan a photo-focused dive trip, step by step
- Choose what you want to shoot. Macro, wide-angle, big animals, wrecks or video. The subject decides the destination and the gear.
- Pick the season. Visibility, sun angle and animal behavior all change through the year: Raja Ampat’s calmer, clearer months run October to April, and Socorro’s season is November to July.
- Match the operator to photographers. Ask about group sizes, dive length, whether guides spot small subjects, and whether there’s a camera table and charging space on the boat.
- Test everything at home. Assemble the whole rig, check the housing in a sink or pool, and learn the controls on land. A new housing on day one of a trip is how floods happen.
- Pack for the plane. Batteries in carry-on, spare O-rings, silicone grease, lens cloths, a small tool kit and a power strip.
- Plan a camera-free dive. On the first dive of a trip, leave the camera on the boat and get your buoyancy and weighting right.
- Back up nightly. Copy the day’s files to a laptop or drive every evening.
Mistakes to avoid:
- Buying a big rig before you can hover still.
- Diving a phone without a housing because it’s “waterproof.”
- Leaving a red filter on at night or with lights.
- Packing spare lithium batteries in checked luggage.
- Shooting from too far away, and trying to fix it with zoom.
- Chasing animals, or touching the reef to steady a shot.
Frequently asked questions
How do you get into underwater photography?
Start with what you have: a GoPro with a red filter or a phone in a depth-rated housing. Get your buoyancy solid, shoot close to your subjects, and learn the basics of light and color underwater. When you’re ready for more, add a compact like the TG-7 with a strobe, take a course such as PADI’s Digital Underwater Photographer, and practice on easy shore dives.
Can you take an iPhone scuba diving?
Not on its own. Apple rates iPhone 15, 16 and 17 models IP68 to 6 meters for up to 30 minutes in lab conditions, says water resistance decreases with wear, and doesn’t cover liquid damage under warranty. For diving, put the phone in a depth-rated housing, such as SeaLife’s SportDiver S ($249.95, rated to 130 feet), and test the housing before every trip.
Do you need a red filter for underwater photography?
If you shoot a GoPro or any camera in ambient light, yes. Water absorbs red light first, so unfiltered footage turns blue or green. A red filter (magenta in green water) restores much of that color in daylight at moderate depths. Take it off at night or when you use strobes or video lights, because the lights provide the color instead.
What is the best underwater camera for beginners?
For photos, an OM System TG-7 ($549.99) in a housing ($350-$399.99) is the classic choice, with excellent close focusing. For simplicity, the SeaLife Micro 3.0 ($599.95) is a sealed camera with big buttons. For video and snorkeling, a GoPro with red filters is hard to beat. All three cost well under $1,000 as a basic setup.
How much does an underwater camera setup cost?
A GoPro with filters costs roughly $520 at launch prices, and a phone housing $249.95 plus the phone. A TG-7 in a housing with one strobe runs about $1,395-$1,445 at September 2026 prices. A mirrorless setup starts around $2,075 for camera, lens and housing before strobes, and professional rigs with two strobes cost many thousands of dollars.
Do you need a strobe for underwater photography?
Not to start. In shallow, sunny water, a filter or a custom white balance gives good color. A strobe becomes essential once you go deeper, shoot macro, dive at night, or want true color on small subjects. It’s usually the single biggest improvement you can make after learning buoyancy, with prices starting around $495.
What camera settings should I use for underwater photos?
For macro with a strobe, start around f/11-f/16, 1/200-1/250 of a second and ISO 100-200. For wide-angle reef scenes with strobes, try f/8, 1/125-1/250 and ISO 200-400, and shoot slightly upward. Without strobes, set a custom white balance at depth or use a filter, keep the sun behind you, and get as close as you can.
Is underwater photography a job?
For some people, yes. Some dive resorts and liveaboards employ photographers and videographers who sell images to guests, and others work in science, conservation, filmmaking and publishing. It’s a small, competitive field, and most working underwater photographers are also dive professionals or combine photography with teaching, guiding or other work.
Sources and verification
Everything on this page was checked on September 23-24, 2026 against the organizations listed below, and the page is compiled from them; we don’t claim to have tested the products named. Prices are the manufacturers’ and retailers’ published prices and change often, so confirm before you buy.
- NOAA Ocean Exploration: why red light disappears underwater and NOAA Ocean Service: why is the ocean blue?
- Apple: splash, water and dust resistance of iPhone
- GoPro: MISSION 1 and GoPro HERO13 Black announcement
- SeaLife: SportDiver housing and SeaLife cameras and lights
- Ikelite: strobes and Ikelite: housings
- Backscatter: GoPro filters, lenses, housings, strobes and lights
- OM System: Tough TG-7
- PADI: Digital Underwater Photographer course
- FAA PackSafe: lithium batteries
- NOAA Florida Keys National Marine Sanctuary: regulations
Also checked: Explorer Ventures, Nautilus Liveaboards, Master Liveaboards, Liveaboards.com’s 2026 budget figures, STINAPA Bonaire and the Bonaire tourism tax site, the operators behind the Kona manta and blackwater prices on our Hawaii page, cenote operators Ko’ox Diving and Blue Life, and the SSI beginner photography guide.
Scuba Tourism Guide is an independent publication. It is not affiliated with any manufacturer, retailer, agency or dive operator named here, no one paid to be included, and we don’t earn commissions on the products listed.
Photo credits
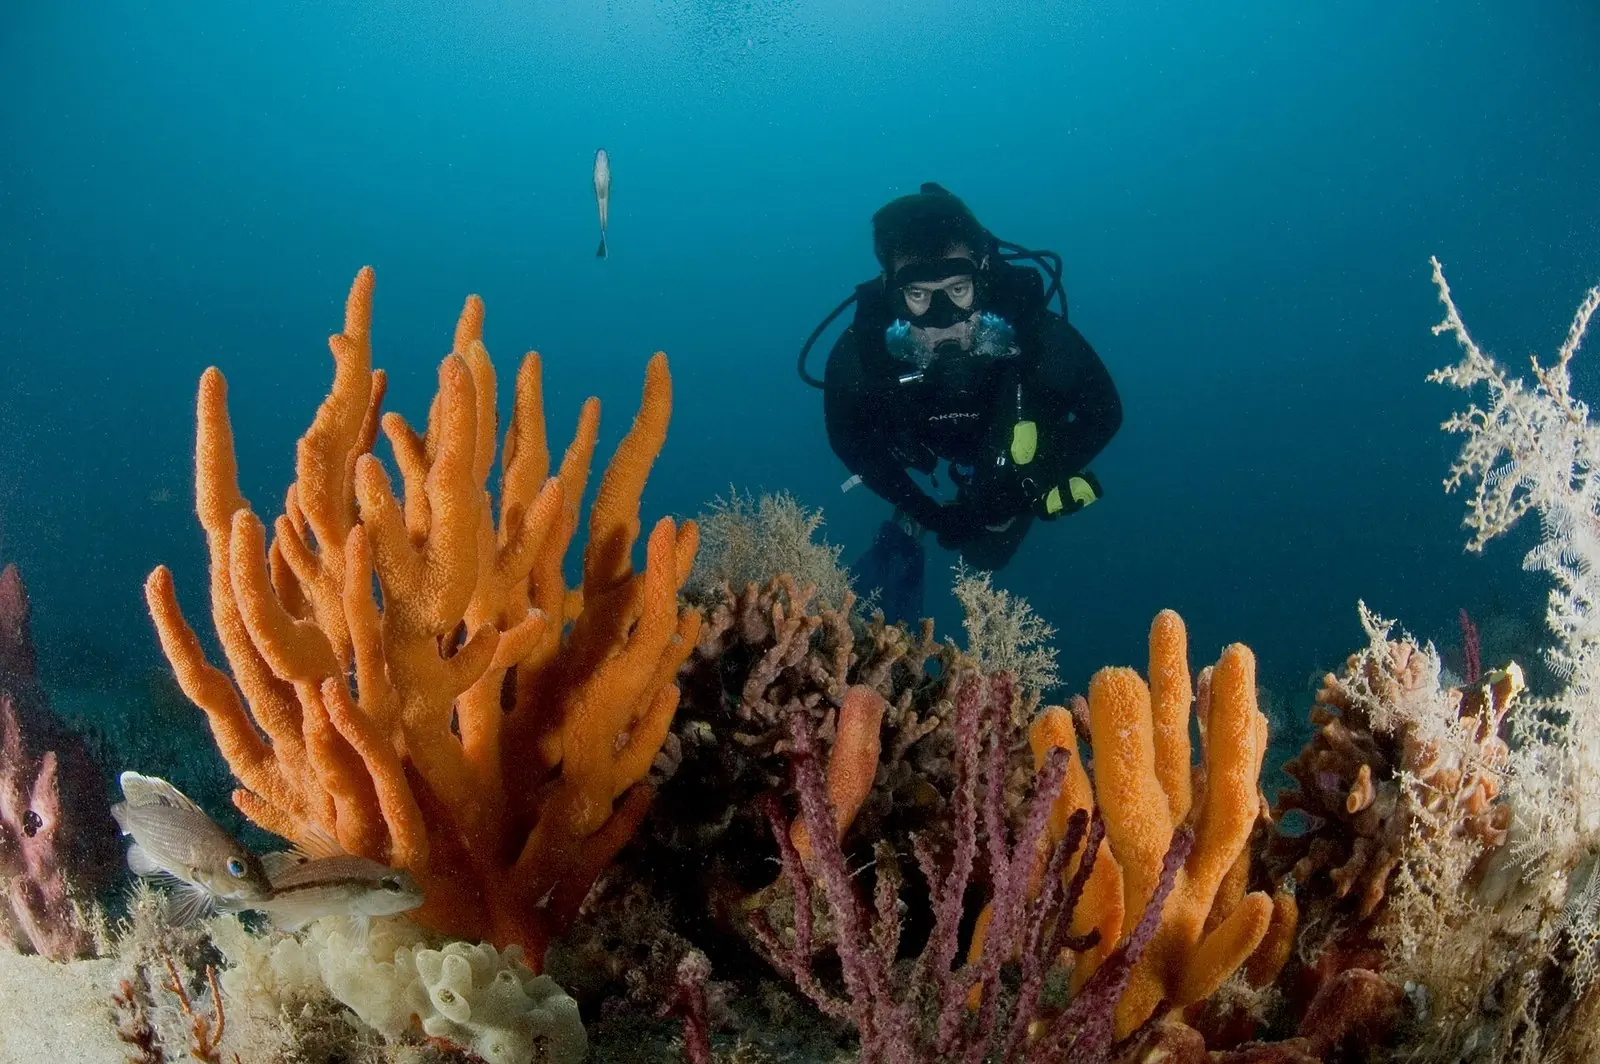
- Diver at Gray's Reef National Marine Sanctuary (featured image): photo by National Marine Sanctuaries, Wikimedia Commons (public domain)
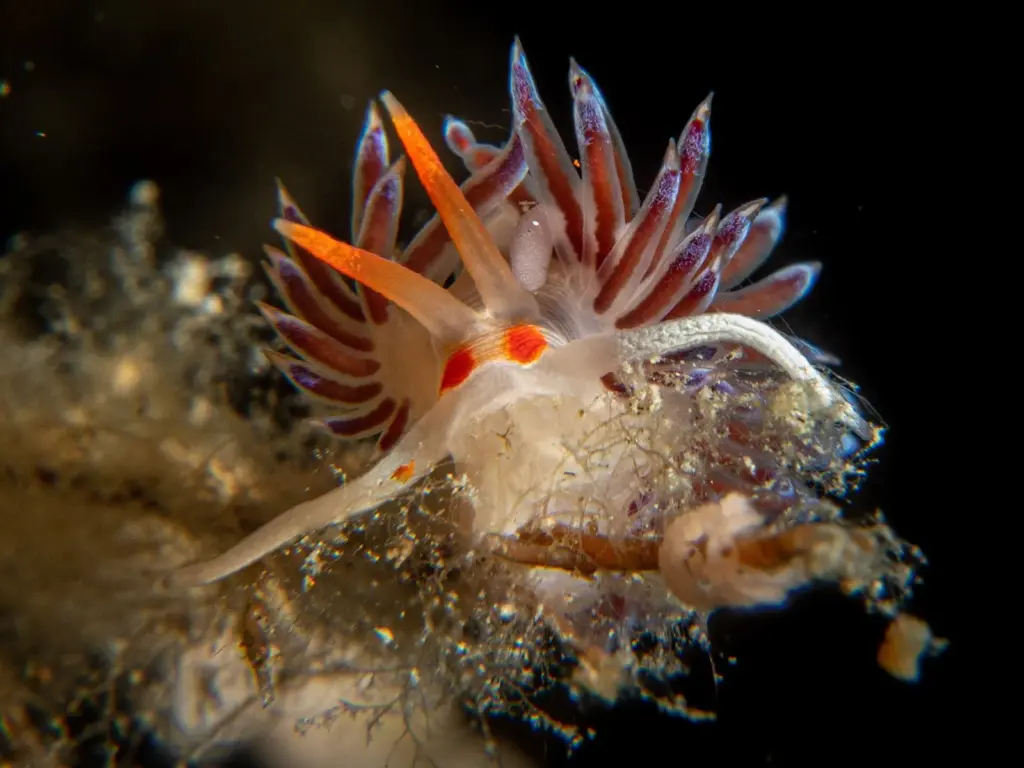
- Nudibranch, Cirkewwa, Malta: photo by Victor Micallef, Wikimedia Commons (CC BY-SA 4.0)
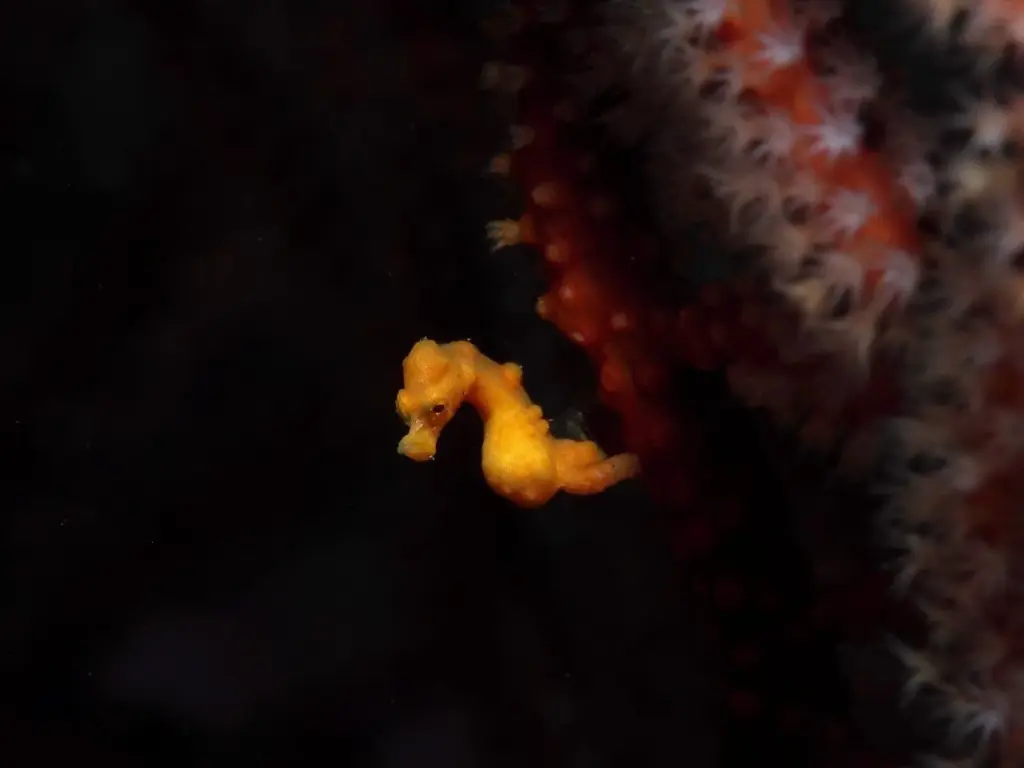
- Denise's pygmy seahorse, Lembeh, Indonesia: photo by Rickard Zerpe, Wikimedia Commons (CC BY-SA 2.0)
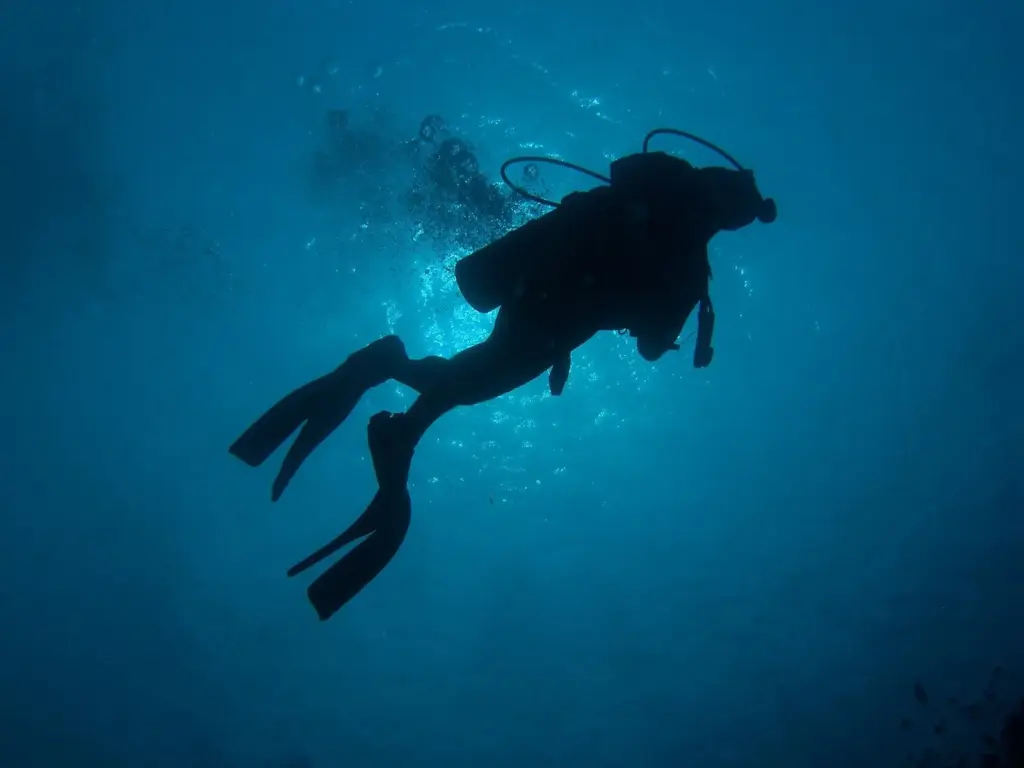
- Diver in silhouette, Apo Island, Philippines: photo by Clotho, Wikimedia Commons (CC BY-SA 4.0)
- Videographer in the SS Thistlegorm, Red Sea: photo by Tim Sheerman-Chase, Wikimedia Commons (CC BY 2.0)
- Hairy frogfish, Lembeh Strait, Indonesia: photo by Rickard Zerpe, Wikimedia Commons (CC BY-SA 2.0)
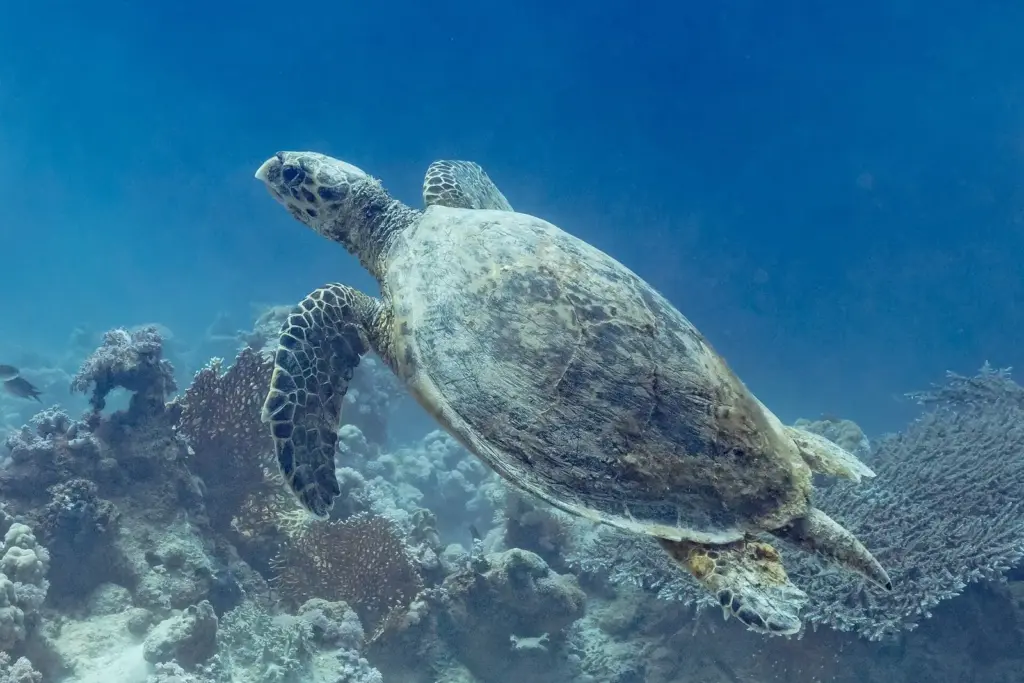
- Hawksbill turtle, Ras Muhammad National Park, Egypt: photo by Diego Delso, Wikimedia Commons (CC BY-SA 4.0)


